How to draw a Kau : Printable Version

Start by drawing a small circle which you then split into two halves. Then draw a larger circle around it.

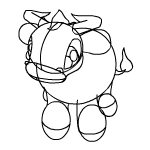
Draw three small circles underneath the large one. These will become your Kau's legs. You can only see three legs clearly, but add a small circular shape for the fourth leg. Draw a curved line through each of the small circles, then join the circles to the body to form the rest of the leg.

Now add a little detail to your Kau's face. Draw a circular shape for the muzzle, then add curved lines on either side to create cheeks. Next draw two almost circular shapes on either side of your Kau's head for ears.

Draw two horn shapes just above your Kau's ears. You will only be able to see one whole eye, so draw a large almond shape on the right side of your Kau's face. Draw a curved line on the left side to look like the second eye.

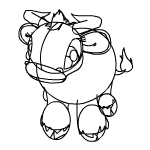
Divide your eye into three sections by drawing two curved lines. Then add a circle in the middle section. This will be the highlight in your Kau's eye. Try to make the smaller, hidden eye match as much as possible. On either side of the muzzle draw a little nostril. Then draw a curves line across the muzzle to form a smile. On the top of your Kau's head draw a tuft of hair. Finally, draw a curved line at the base of each horn.

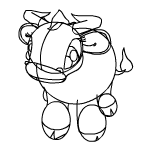
Draw a curved line inside each ear and then draw some smaller lines inside the ear to give it some texture. Add three eyelashes to the top of each eye and draw in the hooves, like so.

Now add a little more shape to your Kau's hooves and forelock by drawing a jagged line along the hairline.

Erase all your extra lines and you should be left with something very similar to this.

Draw on your Kau's stripes and then you have drawn your very first Kau!

If you want to make your drawing really stand out, add a splash of colour and some shading.